


Drill Holes in Studs for Wiring an Electrical Circuit
Safely set up the drill and protect the wire from being damaged in the future

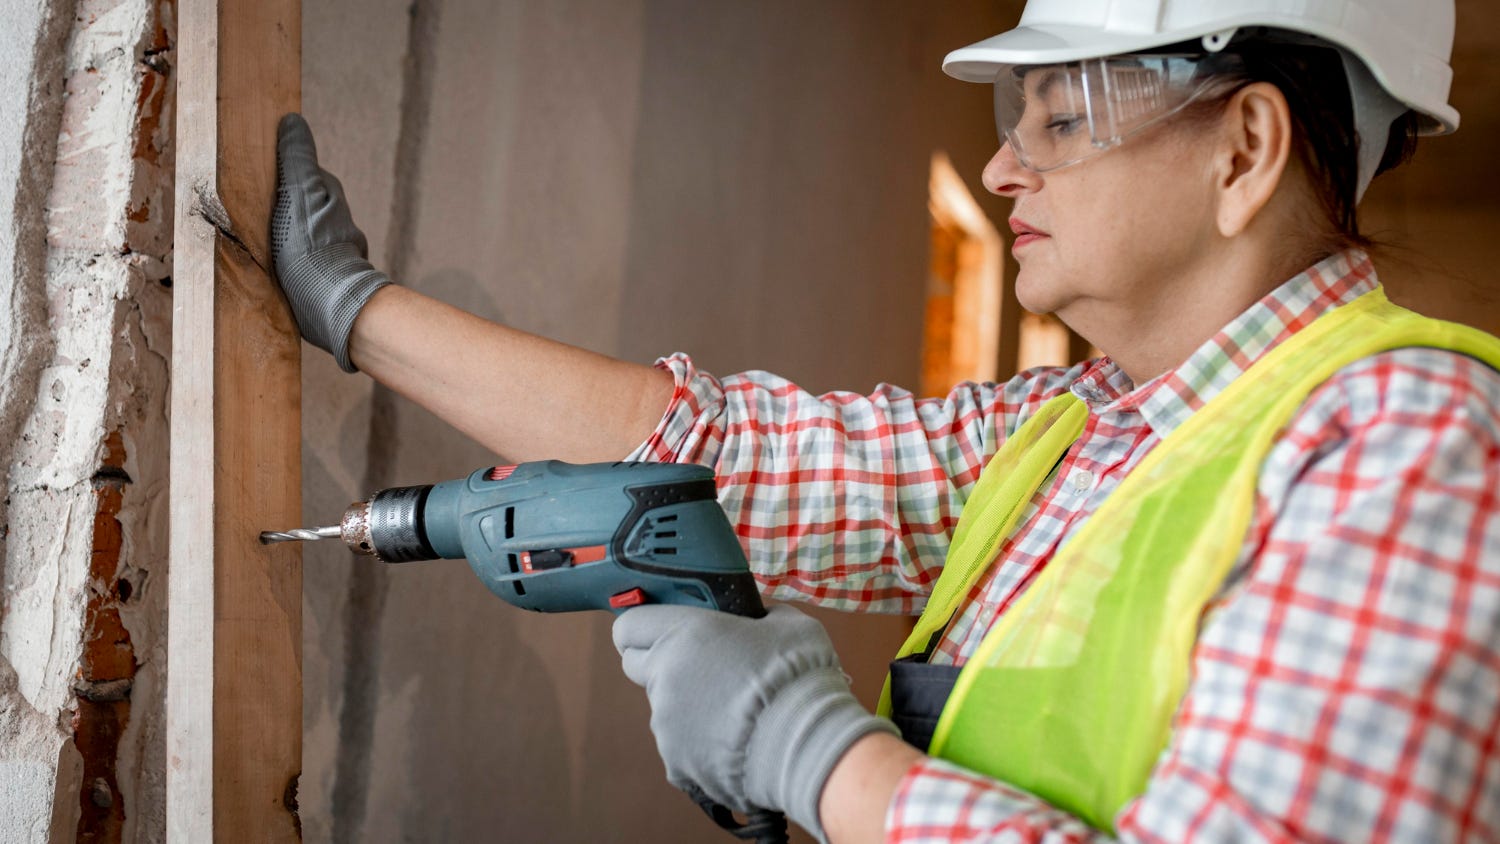
In the construction of a new home, support for non-metallic sheathed (NM) cable for an electrical circuit is often done by running cable through holes in the studs in the wall.
It’s important to drill holes in studs correctly to ensure the wiring is supported and protected.
Before drilling, map out the path the wiring will take. Determine where the outlets, switches, and other fixtures will be located, and mark the path on the studs.
Code for Drilling Holes
According to the National Electrical Code (NEC), NM cable must be supported and secured at intervals not exceeding 4 1/2 feet.
Drill holes at the center of the studs to ensure there is enough wood on either side to support the weight of the structure.
Drywall is most commonly 1/2” thick, and drywall screws are usually 1 1/4” or 1 5/8”. To avoid these screws from penetrating the electrical cable in a wall, the NEC requires that any holes drilled into the stud be 1 1/4” away from the stud face abutting the drywall.
Another safeguard is using metal guard plates or metal inserts. These barriers prevent screws from penetrating the wire, protecting it when the cable is hidden behind finished drywall.
Choose the Right Drill
Drilling is tough on tools and drilling requires tough tools. Use the company drill for drilling holes to not put the wear and tear on your own equipment. Mark out all the holes that need to be drilled so you can drill all your holes with the company drill while it’s in your hands.
Drill Bit
Use an auger bit that is appropriately sized for your wiring. A 3/4” bit is typically suitable for most residential wiring.
Auger bits are spiral shaped. They drill cleaner, deeper holes into hardwood than do spade bits. Auger bits are particularly good at removing dust and wood chips as they drill.
Use sharp drill bits to reduce the physical effort required.
After drilling, deburr holes. Use a file or sandpaper to smooth out the edges of the holes to prevent the wires from being damaged by rough wood.
Safely Attach the Drill Bit
Remove the Battery: Start by removing the battery before making any adjustments to the drill bit.
Loosen the Chuck: Rotate the chuck (the part of the drill that holds the bit) counter-clockwise to open it up.
Insert the Drill Bit: Place the shank (the smooth part of the drill bit) into the chuck.
Tighten the Chuck: Rotate the chuck clockwise to tighten it around the drill bit. Make sure the bit is secure and centered.
Drill Setting: Set the drill to the drill setting at level 1. This provides greater torque at a lower speed which is just right for drilling.
Safety Precaution
Warning: There is a potential for wrist injury when drilling. Brace the drill with your entire forearm over the heel of the drill to prevent it from twisting. Take note if the drill bit is twisting clockwise, the drill itself will twist counter-clockwise, so brace it accordingly.